

Key Takeaways
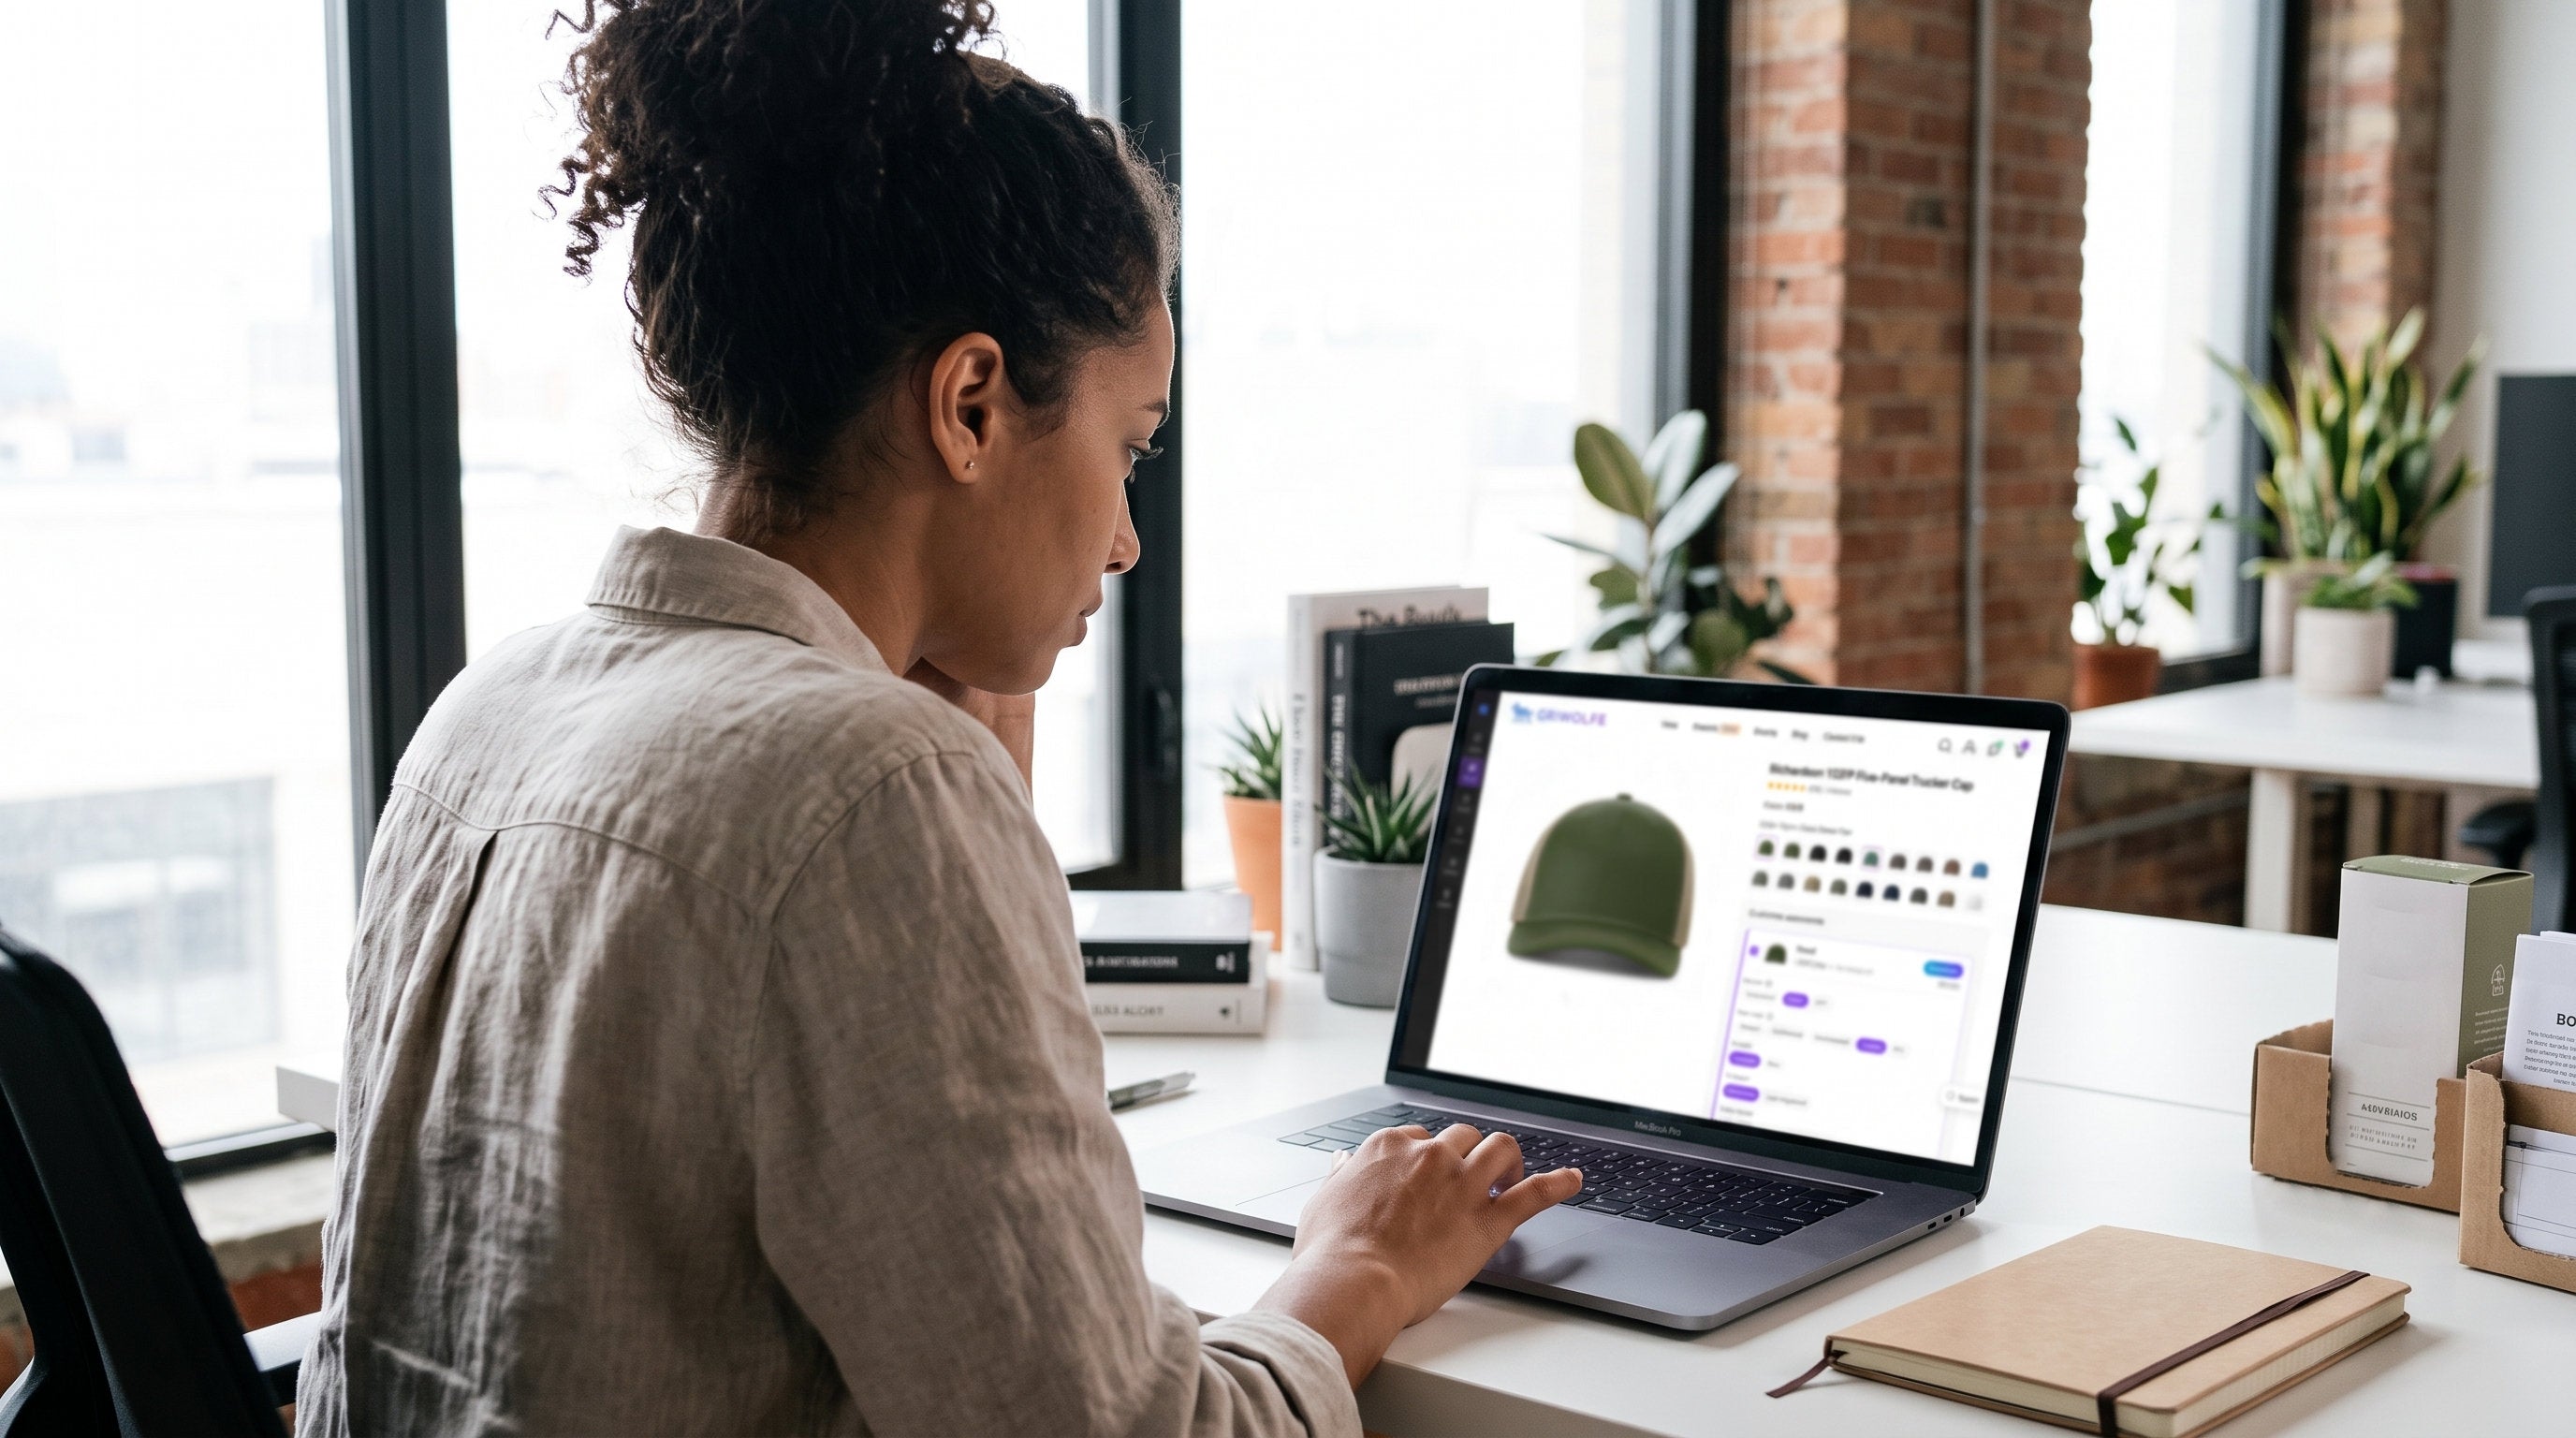
Griwolfe's Design Studio is free and needs no design experience. You pick a placement, pick a method (embroidery, patch, or printing), and build on a live preview of the real hat. If you get stuck, live chat connects you to the design team, and the note field lets you request anything specific, confirmed on your proof. No minimum, order as few as 1.
Table of Contents
- Can You Design Your Own Hat Online for Free?
- What You Need Before You Design Your Own Hat
- Start on the Product Page and Choose Your Placements
- Open the Design Studio and Add Your Artwork
- Add Text, Curves, and Shapes
- Name Your Design and Set Your Quantity
- Add to Cart and Group Styles and Colors Under One Design
- If You Get Stuck: Live Chat and the Note Field
- The Finished Hat From This Exact Flow
- A Few Things to Know as You Build
- Frequently Asked Questions
Griwolfe's Design Studio puts your logo on a real hat and shows you the result before you order. It is free, and it takes a few minutes. This walkthrough covers the whole path in the order you will do it: product page, placements, methods, the design itself, and checkout.
Can You Design Your Own Hat Online for Free?
Yes. The Design Studio is free, with no design experience and no separate software needed. You can build as many designs as you want and see each one on the actual hat first.
Your design shows on the real hat in the color you picked, and it updates as you go. You see exactly how the finished cap looks, then order when it is right.
We make every order in-house in Greensboro, North Carolina.
What You Need Before You Design Your Own Hat
You need a logo file, or nothing at all.
If you have a logo, the Design Studio takes PNG and JPEG. For any other file, like an AI, SVG, or PDF, email it to custom@griwolfe.com and the team brings it in. If you don't have a logo yet, build one in the Studio from text and shapes.
Either way, there is no Photoshop and no design experience involved. A clean, high-contrast logo reproduces best, and simple line art holds up better than a busy photo on a small front panel. If you are not sure your file will work, ask the design team on live chat before you start.
To follow along, browse custom hats and open any product page.
Start on the Product Page and Choose Your Placements
There is no separate design app. You start on the product page for the hat you want, and it lists the placements you can decorate.

- Go to the product page for the hat you want.
- Pick the placements you want to decorate. Hats offer front, back, left, and right. Each placement carries its own design and its own per-unit price, and each has an "Add note" option for instructions to our design and production team.
- Choose a decoration method for each placement. Hats offer embroidery, patch, or printing (shown as Print, full color). Pick the one that fits that placement, and its sub-options appear right below. The build in this walkthrough uses two: a debossed leather patch on the front, and embroidery on the back.
Which method to pick is its own decision. If you are not sure whether to go with direct embroidery or a patch, how to choose between embroidery and a patch covers order size, logo complexity, and brand look. For now, pick one. You can change it later.
Open the Design Studio and Add Your Artwork
Once a placement and method are set, open the Studio to build the design.

- Click the Customize button on your placement to open the Design Studio. It opens with your chosen hat as the canvas, plus undo, redo, zoom, and layer controls. It has every feature you need to design a hat, and we keep adding to it based on what customers ask for.
- Add your artwork. Open the Uploads panel and add your PNG or JPEG. Your uploaded files stay in a library for the rest of the session, so you can reuse them across placements. To build from scratch instead, use the Text and Shapes panels.
- Remove your logo's background if you need to. The image toolbar has a one-click "BG Removal" button. For this walkthrough we are building a leather patch hat with our own logo, so that logo is the file we clean up here.

One click removes the white background, which is what you want before the logo goes on a colored crown or a patch.

Add Text, Curves, and Shapes
Text and shapes turn a bare logo into a finished hat design.

- Add plain or curved text. Plain text and curved text are separate one-click adds. The curved text editor gives you a Curve slider that arches the text, and a Letter Spacing slider, both with direct numeric input. This build's back placement is exactly that: arched text, embroidered, shaped with the Curve slider. You choose from a library of 50 fonts, each with its own style and size controls.
-
Add and reshape any shape you need. The Shapes panel holds roughly 75 presets in two families, 38 solid and 37 outlined, covering squares, ellipses, polygons, lines, stars, and arrows. Every preset is adjustable: change the shape, round the edges to any degree, and grab the edges to resize.
-
Set your colors. On upload, the Design Studio detects your design's colors, and you swap each one to any offered thread color. There are 38 or more embroidery thread colors, and you can specify a Pantone color for thread or a patch.
- Save the design. Saving attaches the design to that placement, and the product page shows a "Design added" confirmation with a small preview of your design.
Name Your Design and Set Your Quantity
With the design saved, name it and set how many you want.

- Name your design, then select your size and quantity. Naming is optional, but it helps once you have more than one. Many hats are one-size, and some come in multiple sizes, so set your size if the hat has them, then your quantity. Pricing reflects the product, the method, and the quantity, with no artwork or setup fee, and the per-piece price drops as quantity rises.
A single unit, especially a patch, costs more per piece than a volume run, because setup is priced into every order. Ordering one is worth it when you want to check the hat in hand first. Once you know your quantity, ordering the full run brings the per-piece price down.
Add to Cart and Group Styles and Colors Under One Design
At checkout, one feature decides what a mixed order costs: design groups.

- Add to cart and group different styles and colors under one design. The cart groups items into named "Designs" (Design 1, renameable). A single design group can span different hat styles and different colors that share the same design. The volume discount counts every piece in the group together, not per style or per color.
Say you want the same logo on a black trucker, a khaki trucker, and a navy rope hat. Put all three in one design group, and every piece counts toward the same volume tier. Items that share the same design and decoration method qualify together, across styles and colors.
That way a varied order does not split into smaller, pricier batches. From the cart you can add a color, add another product, or edit sizes and quantities before you check out.
If You Get Stuck: Live Chat and the Note Field
If something in the Design Studio is not obvious, open live chat. The design team helps you right there, while you are still building.
For anything specific, use the note field on any placement. Write what you want, and the design team applies it to your order.
Everything you build and note lands on the proof. After you order, we email you a production-ready design proof within 1 to 2 business days, showing your design and any notes. You request unlimited free revisions by reply, and nothing goes to production until you approve.
Most customers ask two things before ordering: can you hit my deadline, and will I see a proof first. On the proof: nothing is produced until you approve it. On deadlines: standard production is 2 weeks for embroidery and printing, and 4 weeks for patch methods, counted after you approve the proof. If your date is tighter, rush service runs as low as 3 business days; reach out by phone, email, or live chat before you order.
So if you want a placement moved a quarter inch or a thread matched to a brand color, ask on chat or write it in the note. The proof confirms it before any hat is made.
The Finished Hat From This Exact Flow
To check this walkthrough against reality, we ran it ourselves as a real order on a Richardson 112FP trucker cap, in army olive green and tan. Front placement: a debossed leather patch. Back placement: arched text, embroidered, set in the curved text editor from step 7. We used a "Your Logo Here" placeholder so you can picture your own branding in each spot. Both designs saved, ordered, proof approved by email, produced in Greensboro like any other order.


This is the hat that came back, built from the same design shown in the preview and confirmed on the emailed proof.
A Few Things to Know as You Build
Two small habits keep the process smooth.
- Set your method before you design. If you switch a placement's method after building, the design detaches and the placement returns to "No design yet." Nothing is lost: reopen Customize and hit Save to re-attach it. Picking the method first just saves you the step.
- Save each design before you add to cart. Checking a placement's box is not the same as saving a design on it. Once you save, the placement shows a small preview labeled "Design added," and only a saved placement can go in the cart. Set a quantity too, then the per-unit total confirms both are set.
Frequently Asked Questions
Can I design my own hat online for free?
Yes. The Design Studio is free to use, with no account required and no charge to build a design. You can make as many designs as you want and see each one on the real hat as you work. There is no minimum, so you can order as few as 1.
Do I need design software to design a hat?
No. You need no design experience and no Photoshop. Upload a PNG or JPEG logo, or build a design from scratch using the text and shape tools inside the Design Studio. For any other file, like an AI, SVG, or PDF, email it to custom@griwolfe.com and the team brings it in.
How do I see my design on the hat before I order?
You see your design on the actual hat, in the color you chose, updating live as you build. After you order, you also receive a design proof by email within 1 to 2 business days. You can request unlimited free revisions before production starts.
Is there a minimum order to design a custom hat?
No. There is no minimum on any decoration method, so you can order as few as 1 unit. A single unit, especially a patch, costs more per piece than a volume run, because setup is priced into every order. A one-off is worth it when you want to check the product in hand first.
What file type should I upload for my logo?
PNG and JPEG files work in the Design Studio today. For any other file, like an AI, SVG, or PDF, email it to custom@griwolfe.com and the team brings it into your design. More file formats are in development. A clean, high-contrast logo reproduces best on a hat's front panel.
How many steps does it take to design a hat online?
About 12, from opening a product page to checkout. You choose placements, pick a method, design in the Studio, save, set a quantity, and add to cart. Most designs take only a few minutes.
Design Your Hat Now
You can do this now, in a few minutes. Open a product page, pick a placement, and build your design on the live preview. Before you order, check that each placement shows your design preview (labeled "Design added"), set your size and quantity, and note anything specific. Then order as few as 1 and review your emailed proof before anything is made.
Browse the custom hats collection and click Customize on any hat to start. Prefer thread? Design custom hat embroidery. Questions about an order? Contact us and we will reply the same day.
Share:
Rope Hat Golf: Which Hat, Patch or Thread, and When to Order
How Much Do Custom Hats Cost? Real Prices, No Minimum