

Key Takeaways
- A front hat design is produced up to 6 inches across, so your logo only has to look sharp at that size.
- Uploading puts your logo in the library. Clicking the small picture of it puts it on the hat.
- One click on BG Removal takes the background off, whatever color it is.
- Colors are set one at a time, from named production colors.
Table of Contents
- What Kind of Logo File Do You Need?
- Is My Logo File Good Enough?
- How to Upload Your Logo in the Design Studio
- How to Remove Your Logo's Background
- How to Set Your Logo's Colors
- How to Size, Crop, and Position Your Logo
- Logo Upload Questions
- Getting Your Logo Ready
To upload a logo for a custom hat you need one PNG or JPEG, and no design software. Everything happens inside Griwolfe's Design Studio, on a live preview of the hat you picked. Most people arrive worried that their logo file is not good enough for a hat. It usually is fine, and there is a quick way to check.
What Kind of Logo File Do You Need?
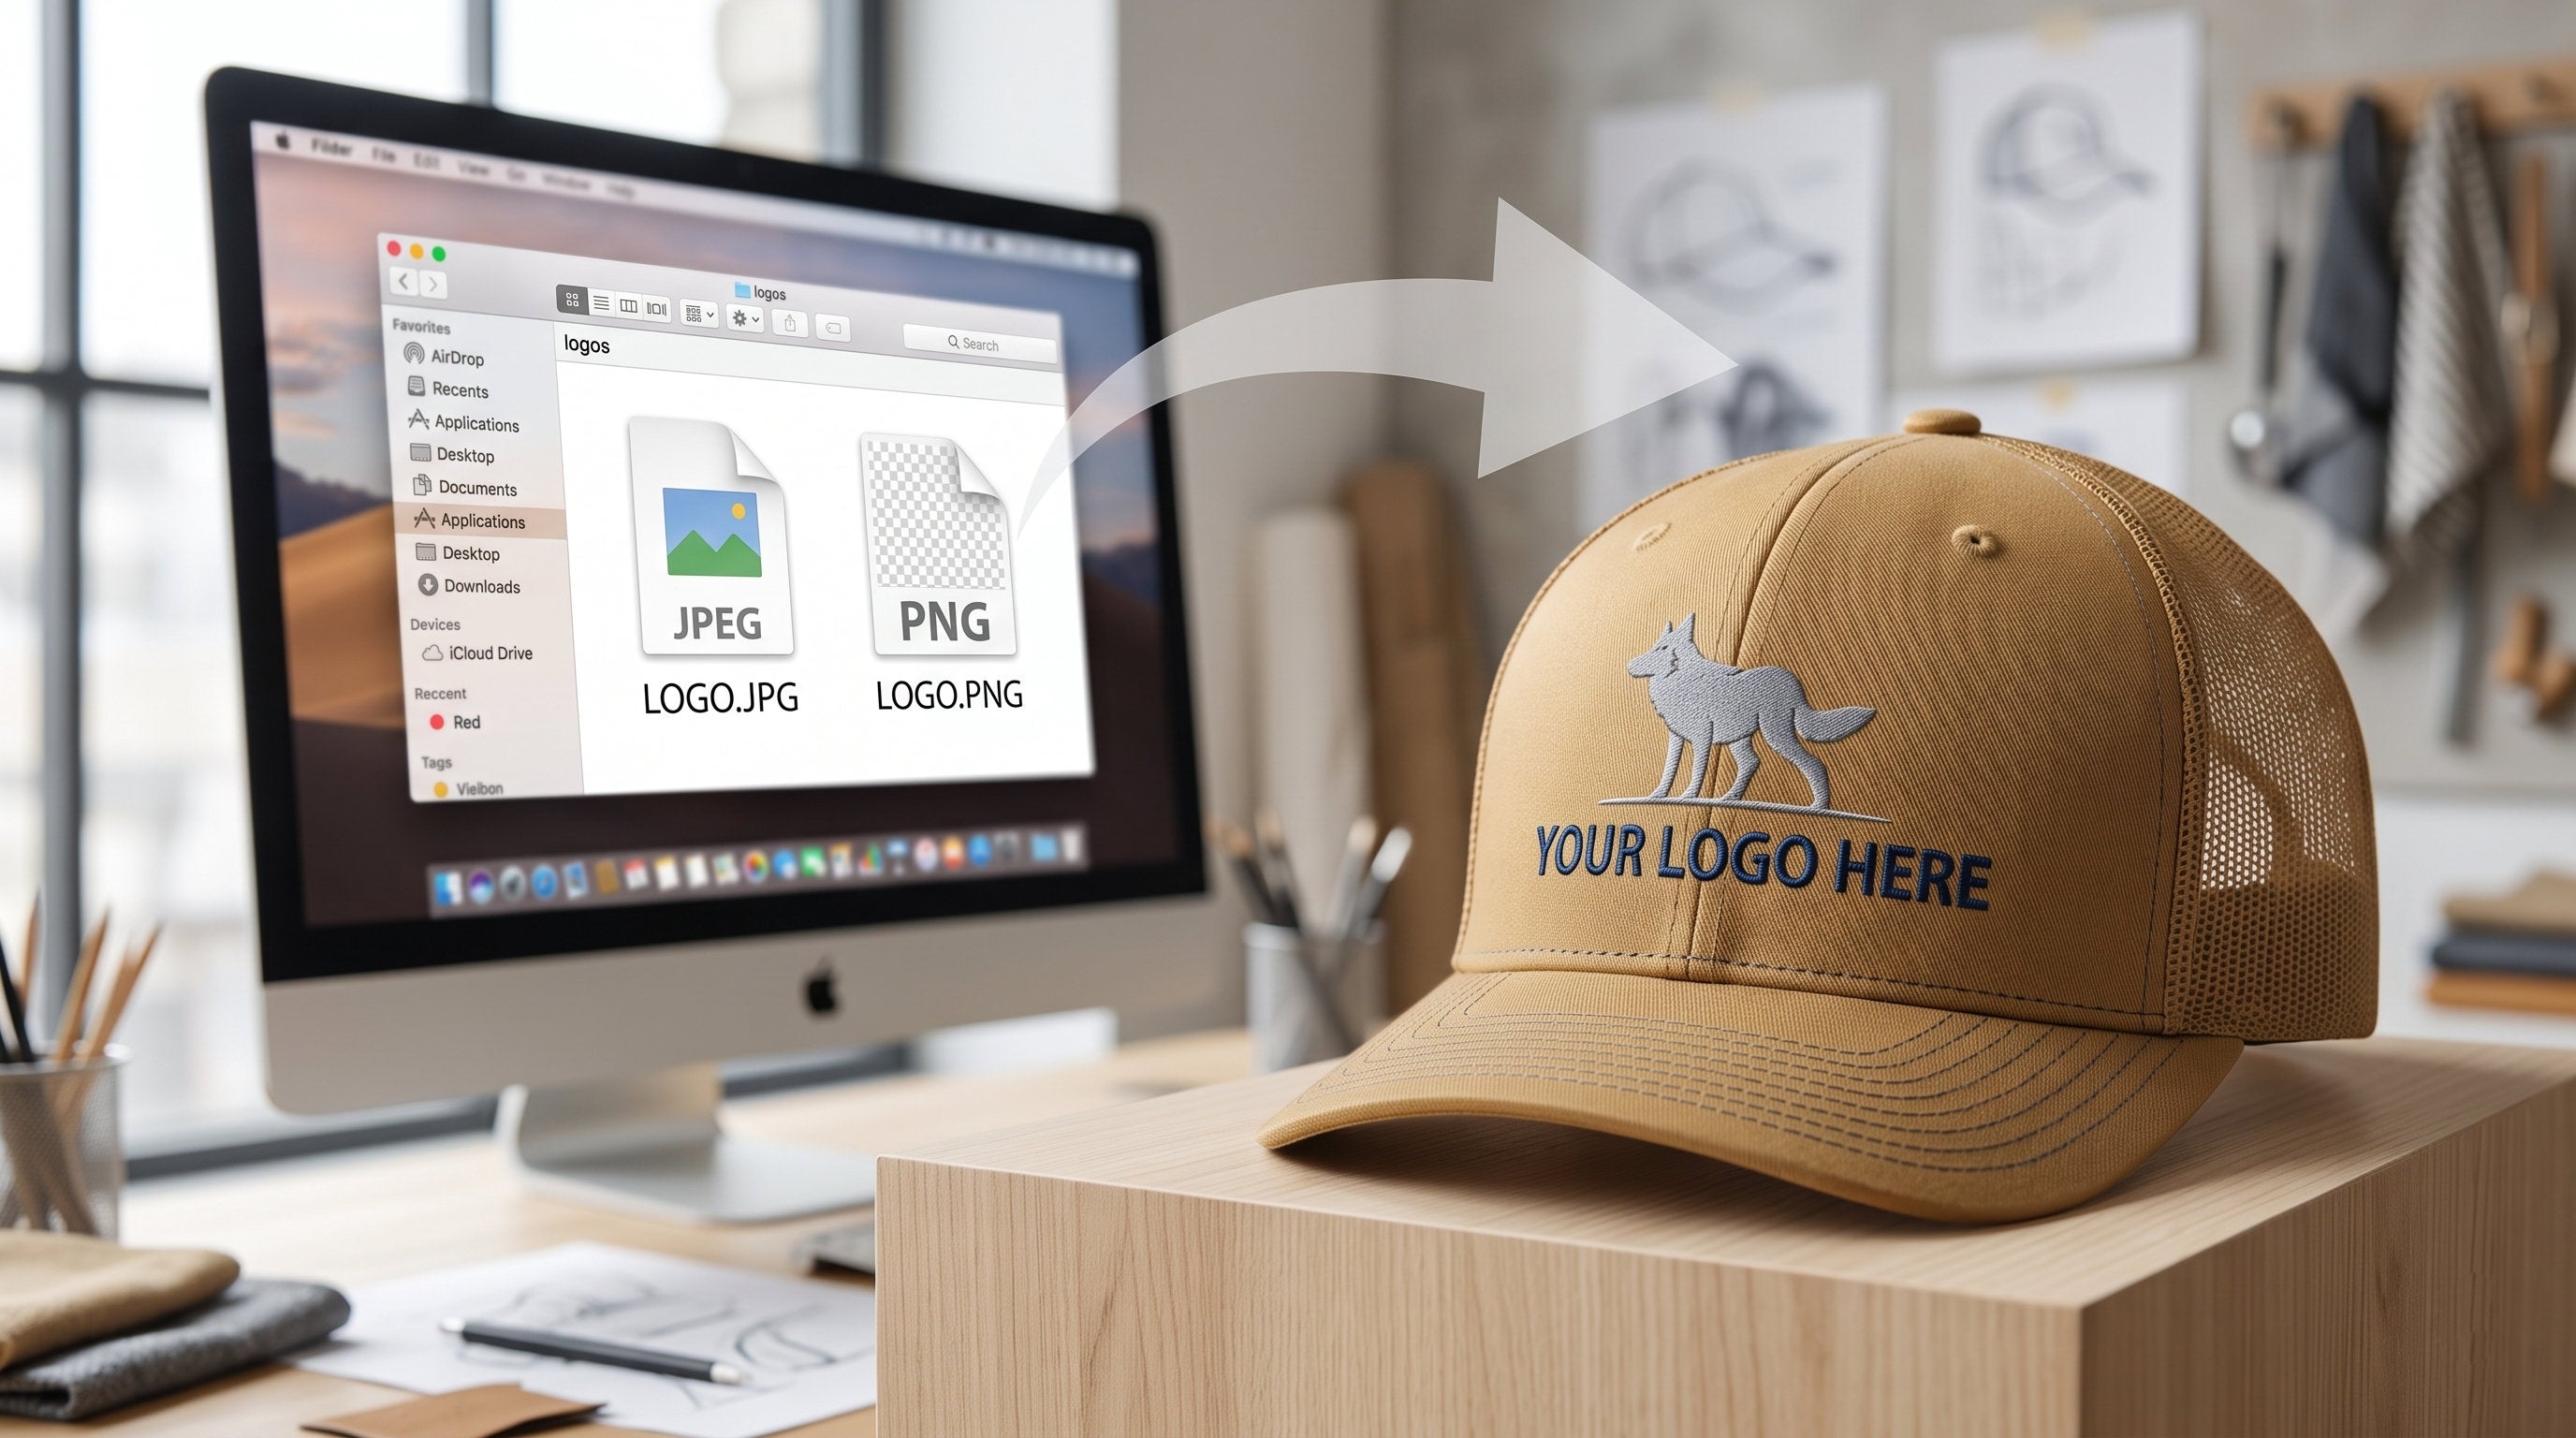
A PNG or a JPEG. That's the whole answer for the Design Studio today, and more formats are in development.
| What you have | What to do with it |
|---|---|
| PNG | Upload it. These often have a clear background already. |
| JPEG | Upload it, then click BG Removal to take the background off. |
| AI (.ai), SVG, PDF | Email it to custom@griwolfe.com and we bring it in. |
You may have read that a hat logo needs a special kind of design file. That advice is written for emailing artwork to a print shop. Here you upload the file you already have.
Which customization method suits your artwork is a separate decision from the file. It shapes the finished logo more than any upload setting will. We cover that choice, method by method, in how to put a logo on a hat. This article stays on the file itself: getting it in, cleaning it up, and setting its colors and size.
Is My Logo File Good Enough?
Almost certainly, and the reason is size. We produce a full front hat design up to 6 inches wide. That allows up to 2.3 inches of height for embroidery, or 3 inches for a patch. Side and back placements are smaller again.
So the only question is whether your logo still looks clean that small. Here is the check. Open your logo on your screen and shrink it to about the width of a postcard. If the edges and any small lettering still look sharp, it will work on a hat.
Older or low-quality files are still worth uploading. Put the file in, look at it on the hat, and send it. We review the artwork before anything is made. The design proof arrives by email within 1 to 2 business days and shows exactly what will be produced.
Want to follow along with your own logo? Browse Custom Embroidered Hats and open the Design Studio on any hat in the collection.
How to Upload Your Logo in the Design Studio
- Open the product page for the hat you want. Each placement you can customize is listed there: front, back, left, and right.
- Pick a customization method for the placement you want. Hats offer Embroidery, Patch, or Print (full-color printing).
- Click Customize on that placement to open the Design Studio.
- Click Uploads in the left panel, then Add File, and choose your logo.
- Click the small picture of your logo that appears in the panel. This is what puts it on the hat.
- Drag a corner handle to bring the logo down to the size you want.

Step 5 is the one that catches people. Adding a file loads it into your library, and the hat doesn't change yet. That small picture is a button. Clicking it puts your logo on the cap.

That library is worth knowing about. Your file stays in the panel for the rest of your session. Customizing a second placement then takes one click, with no second trip to your desktop. A search box appears above the panel once you have several files loaded.
Expect the logo to land large. It arrives sized to the panel, so pulling it in from a corner is the first thing most people do.

How to Remove Your Logo's Background
Select the logo and click BG Removal in the toolbar above it. The background comes off in one click and the artwork sits directly on the fabric.

You need this whenever your logo is a JPEG. A JPEG cannot save an empty background. It always fills the space around your logo with a solid color. Often that color is white, but a logo saved on black or another color carries that instead.
On the hat it reads as a rectangle sitting behind your mark. A white block hides on a white cap and shows plainly on a navy or biscuit one; a dark block does the reverse. It's the most common reason a first design looks wrong on the preview.
A PNG often comes with no background at all. Then there is nothing to remove, and your logo sits straight on the fabric.
The button works on the copy in your design. Your original file is untouched, and Undo puts the background back if you want to compare the two.
How to Set Your Logo's Colors
Click Color in the toolbar to open the Edit colors panel. The Design Studio reads the colors out of your artwork when you upload it. It lists them one per row, so a two-color logo gives you two rows.

Each row has its own Edit button, and the list it opens depends on the method you picked. With embroidery you get named thread colors: Silver, Charcoal, Royal, Old Gold, Medium Brown, and on down the list. These are the colors we stitch in, which is why they carry names instead of codes. There is a search box at the top, and a Reset all link that puts your original colors back.

Say your logo has a gray mark and black text. You can keep the mark as it is and lift the text to something that reads against a dark cap.
Pick printing instead and the same panel offers Pantone colors, listed by code. Printing has no color limit, so a photo or a blend of shades comes through as it is. The list is there for the times you need one exact brand color rather than whatever the file happens to contain.
One honest limit. If you give us a Pantone color, a patch matches it exactly. Thread is matched to the closest color we stock, which is not always identical. If an exact color matters, say so on the order and we confirm it on the proof.
How to Size, Crop, and Position Your Logo
Dragging a corner handle is enough for most designs. Three more controls in the same toolbar cover everything else.
Crop trims the artwork itself. Use it to cut dead space off the edges of a logo, or to square up a mark that came out of a screenshot. It also has ready-made shapes if you want a square or a wide strip.
Position carries Align to Page. Center and Middle together put a front logo dead center on the panel, which beats eyeballing a drag.
The inspector is the last icon in the toolbar. It opens the fine adjustments: rotate to a set angle, flip the artwork, nudge it into place, and rename the file.

When you are happy, click Finish design. The placement on the product page then shows a small preview of your design, labeled "Design added". Its button changes to "Edit design" so you can go back in.

Anything else you want done to the artwork goes in the Add note field on the placement. Write it in your own words. Our design team handles it and shows you the result on the proof before anything is produced. Live chat reaches the same team if you'd rather ask.
The full Design Studio walkthrough covers placements, saving, and checkout end to end. You can also browse custom hats and start on whichever style suits the order.
Logo Upload Questions
What size should my logo file be for a hat?
Big enough to look sharp at 6 inches wide, which is the widest we produce a front design. Side and back placements are smaller, so they ask even less of your file. Upload what you have, check it on the preview, and we flag anything that won't reproduce well.
Can I upload a logo with a background behind it?
Yes. Upload it, then click BG Removal in the toolbar to take the background off in one click. It works the same whether the backdrop is white, black, or a color. An untouched JPEG shows that block as a rectangle behind your mark.
Do I have to upload my logo again for the back of the hat?
No. Your file stays in the Uploads panel for the rest of your session. Open the Design Studio on the second placement, click the same small picture, and size it for that spot.
What if my logo has more colors than I want stitched?
Open the Edit colors panel and change them one row at a time. You can also write what you want in the placement's Add note field. Our design team adjusts the artwork, and the emailed proof shows you the result before production.
Can I change my logo after I save the design?
Yes. The placement's button changes to "Edit design" after saving. That reopens the Design Studio with your artwork as you left it. Nothing is final until you approve the proof.
Getting Your Logo Ready
Getting a logo onto a hat takes one PNG or JPEG. Upload the file and click the small picture of it to place it on the hat. Take the background off if it came from a JPEG, set your colors, then size it against the front panel.
The file you already have is probably good enough. Hat placements are small, and we review the artwork before anything is made. If the file is awkward or the format is wrong, email it to custom@griwolfe.com and we sort it out for you.
Shop Custom Embroidered Hats to open the Design Studio and put your logo on a hat now.
Share:
Brewery Merch That Sells: Hats, Apparel, and Sizing
Low Profile Trucker Hat: Small Heads, Real Logo Size